Search results for: 'blog labels bathroom renovation'
-
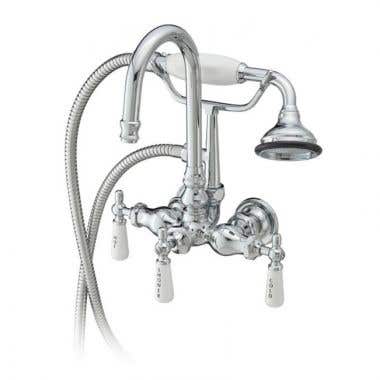
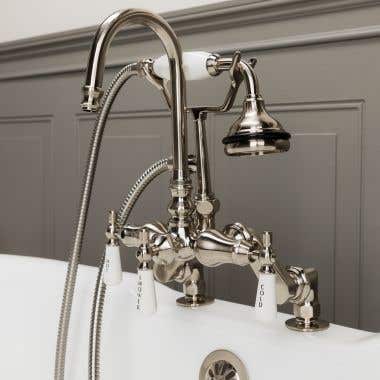
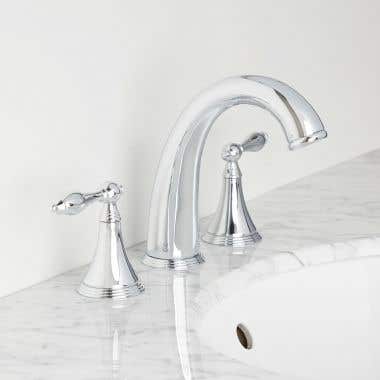
Clawfoot Tub Wall Mount Gooseneck Tub Faucet with Handshower - Chrome$480.00Item #: 3107-CHFree Shipping!
-
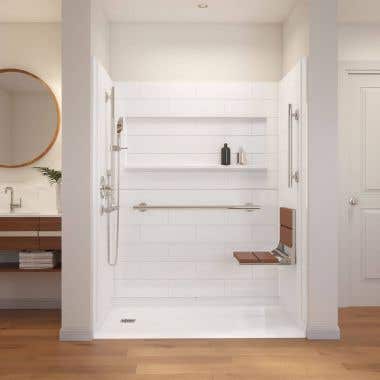
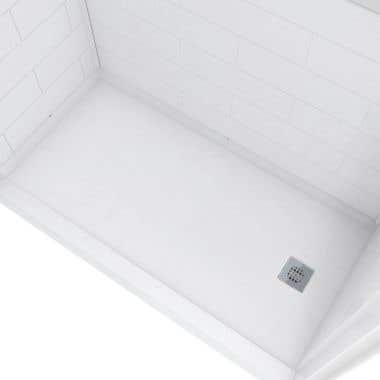
White Vida 60 X 32 Accessible Bathroom Shower Kit with Left Drain$3,148.00Item #: RBX6032BFKTL-WHCFree Shipping!
-
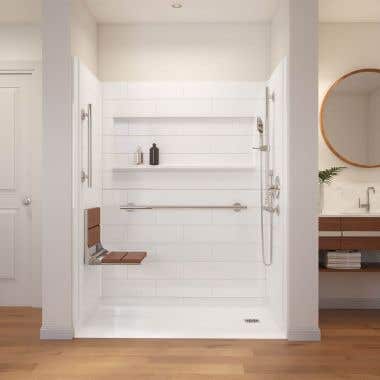
White Vida 60 X 32 Accessible Bathroom Shower Kit with Right Drain$3,148.00Item #: RBX6032BFKTR-WHCFree Shipping!
-
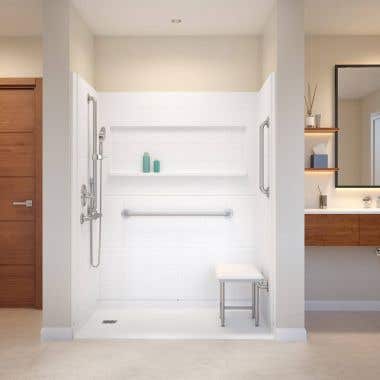
White Vida 60 X 36 Accessible Bathroom Shower Kit with Right Drain$3,238.00Item #: RBX6036BFKTR-WHCFree Shipping!
-
White Vida 60 X 36 Accessible Bathroom Shower Kit with Left Drain$3,238.00Item #: RBX6036BFKTL-WHCFree Shipping!
-
Brighton Lighted Bathroom Mirror with Anti-FogStarting at: $199.00Item #: RMFA-M56-SFree Shipping!
-
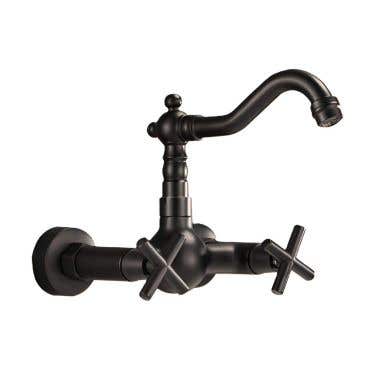
Wall Mounted Bridge Kitchen Faucet - Metal Cross HandlesStarting at: $314.00Item #: RMNAB1456-SFree Shipping!
-
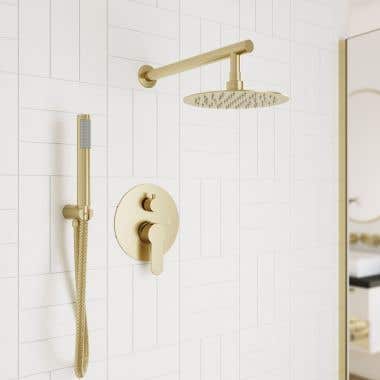
Tranquil Rainfall Shower Set with round showerhead, round valve, and Wand HandshowerStarting at: $339.00Item #: RMAS-2SR-RRHGN-HSW-SFree Shipping!
-
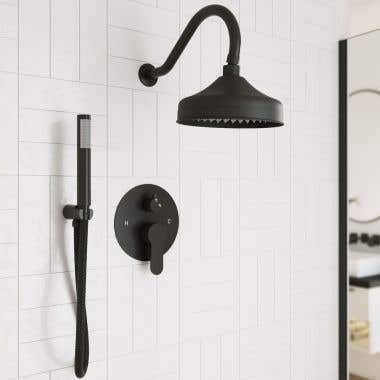
Tranquil Rainfall Shower Set with Round Shower Head, Round Valve, and Wand HandshowerStarting at: $279.00Item #: RMAS-2SR-RH-HSW-SFree Shipping!
-
Deck Mount High Spout Clawfoot Tub Faucet W/ HandshowerStarting at: $399.00Item #: RM684C-SFree Shipping!
-
-
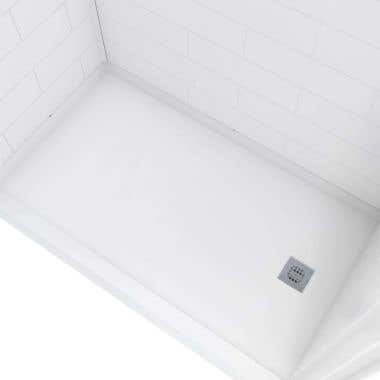
White Vida 60 X 36 Accessible Bathroom Shower Pan with Right Drain$875.00Item #: RBX6036BFPR-WHCFree Shipping!
-
White Vida 60 X 36 Accessible Bathroom Shower Pan with Left Drain$875.00Item #: RBX6036BFPL-WHCFree Shipping!
-
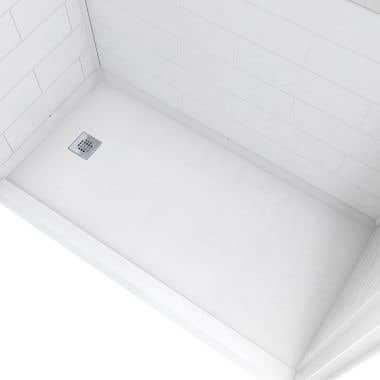
White Vida 60 X 32 Accessible Bathroom Shower Pan with Left Drain$875.00Item #: RBX6032BFPL-WHCFree Shipping!
-
White Vida 60 X 32 Accessible Bathroom Shower Pan with Right Drain$875.00Item #: RBX6032BFPR-WHCFree Shipping!
-
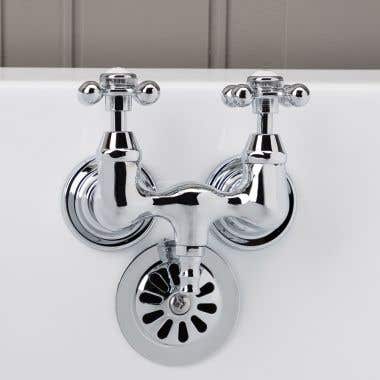
Clawfoot Tub Wall Mount Faucet - Metal Cross HandlesStarting at: $79.00Item #: RM030C-SFree Shipping!
-
-
-
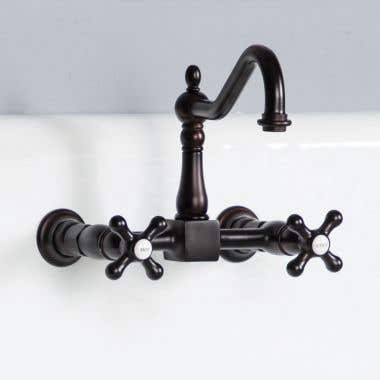
Wall Mount Bathroom Sink Faucet - Metal Cross HandlesStarting at: $279.00Item #: RMTB045-SFree Shipping!
-
Maisie Acrylic Double Ended Tub with StandStarting at: $1,695.00Item #: RMTW080ST-SFree Shipping!
-
-
-
-
Widespread Bathroom Sink Faucet - Metal Lever HandlesStarting at: $109.00Item #: RMX111B-SFree Shipping!
-
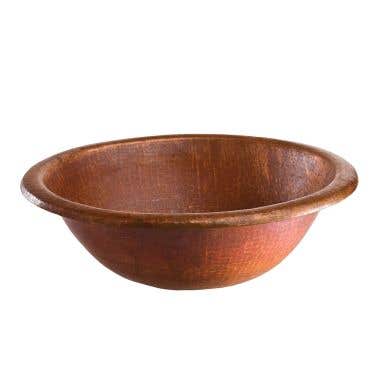
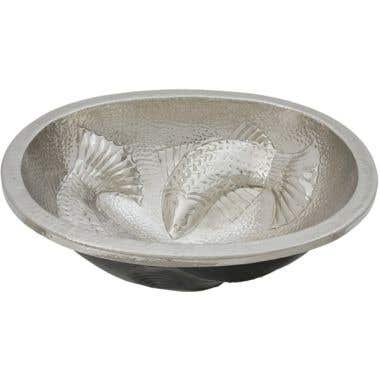
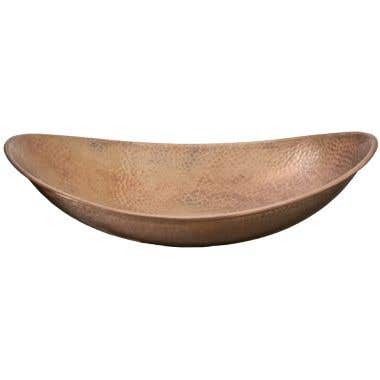
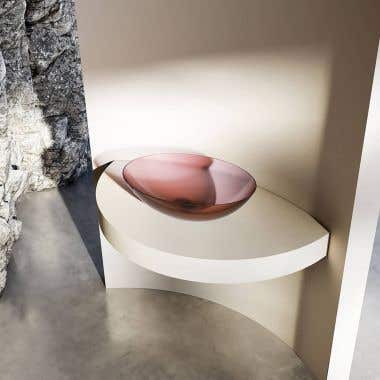
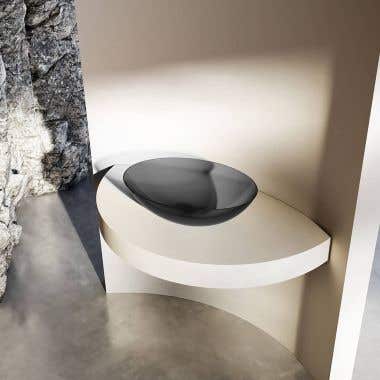
Renovations Collection Calder Vessel Sink - Medium Antique Copper$523.00Item #: NS25036Free Shipping!
-
-
-
-
-
-
-
-
-
-
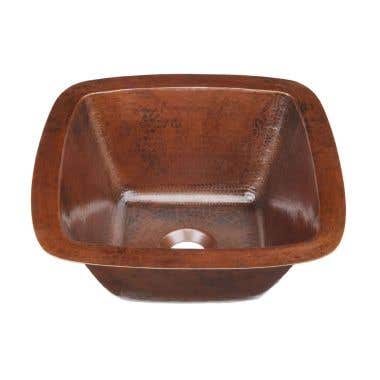
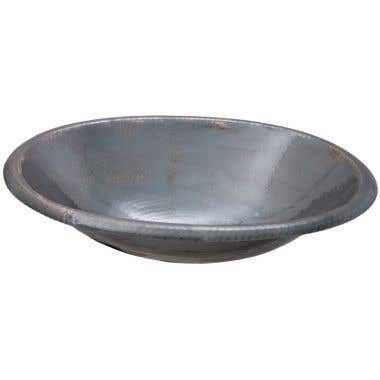
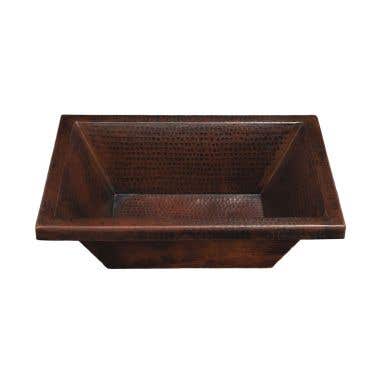
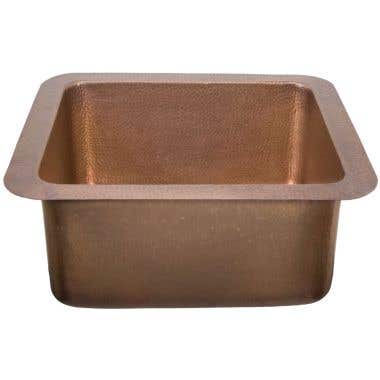
Renovations Collection Vernazza Copper Bar Sink - Hammered Medium Antique Copper$1,188.00Item #: NS25033HFree Shipping!
-


Login and Registration Form